
 Image 1 of 3
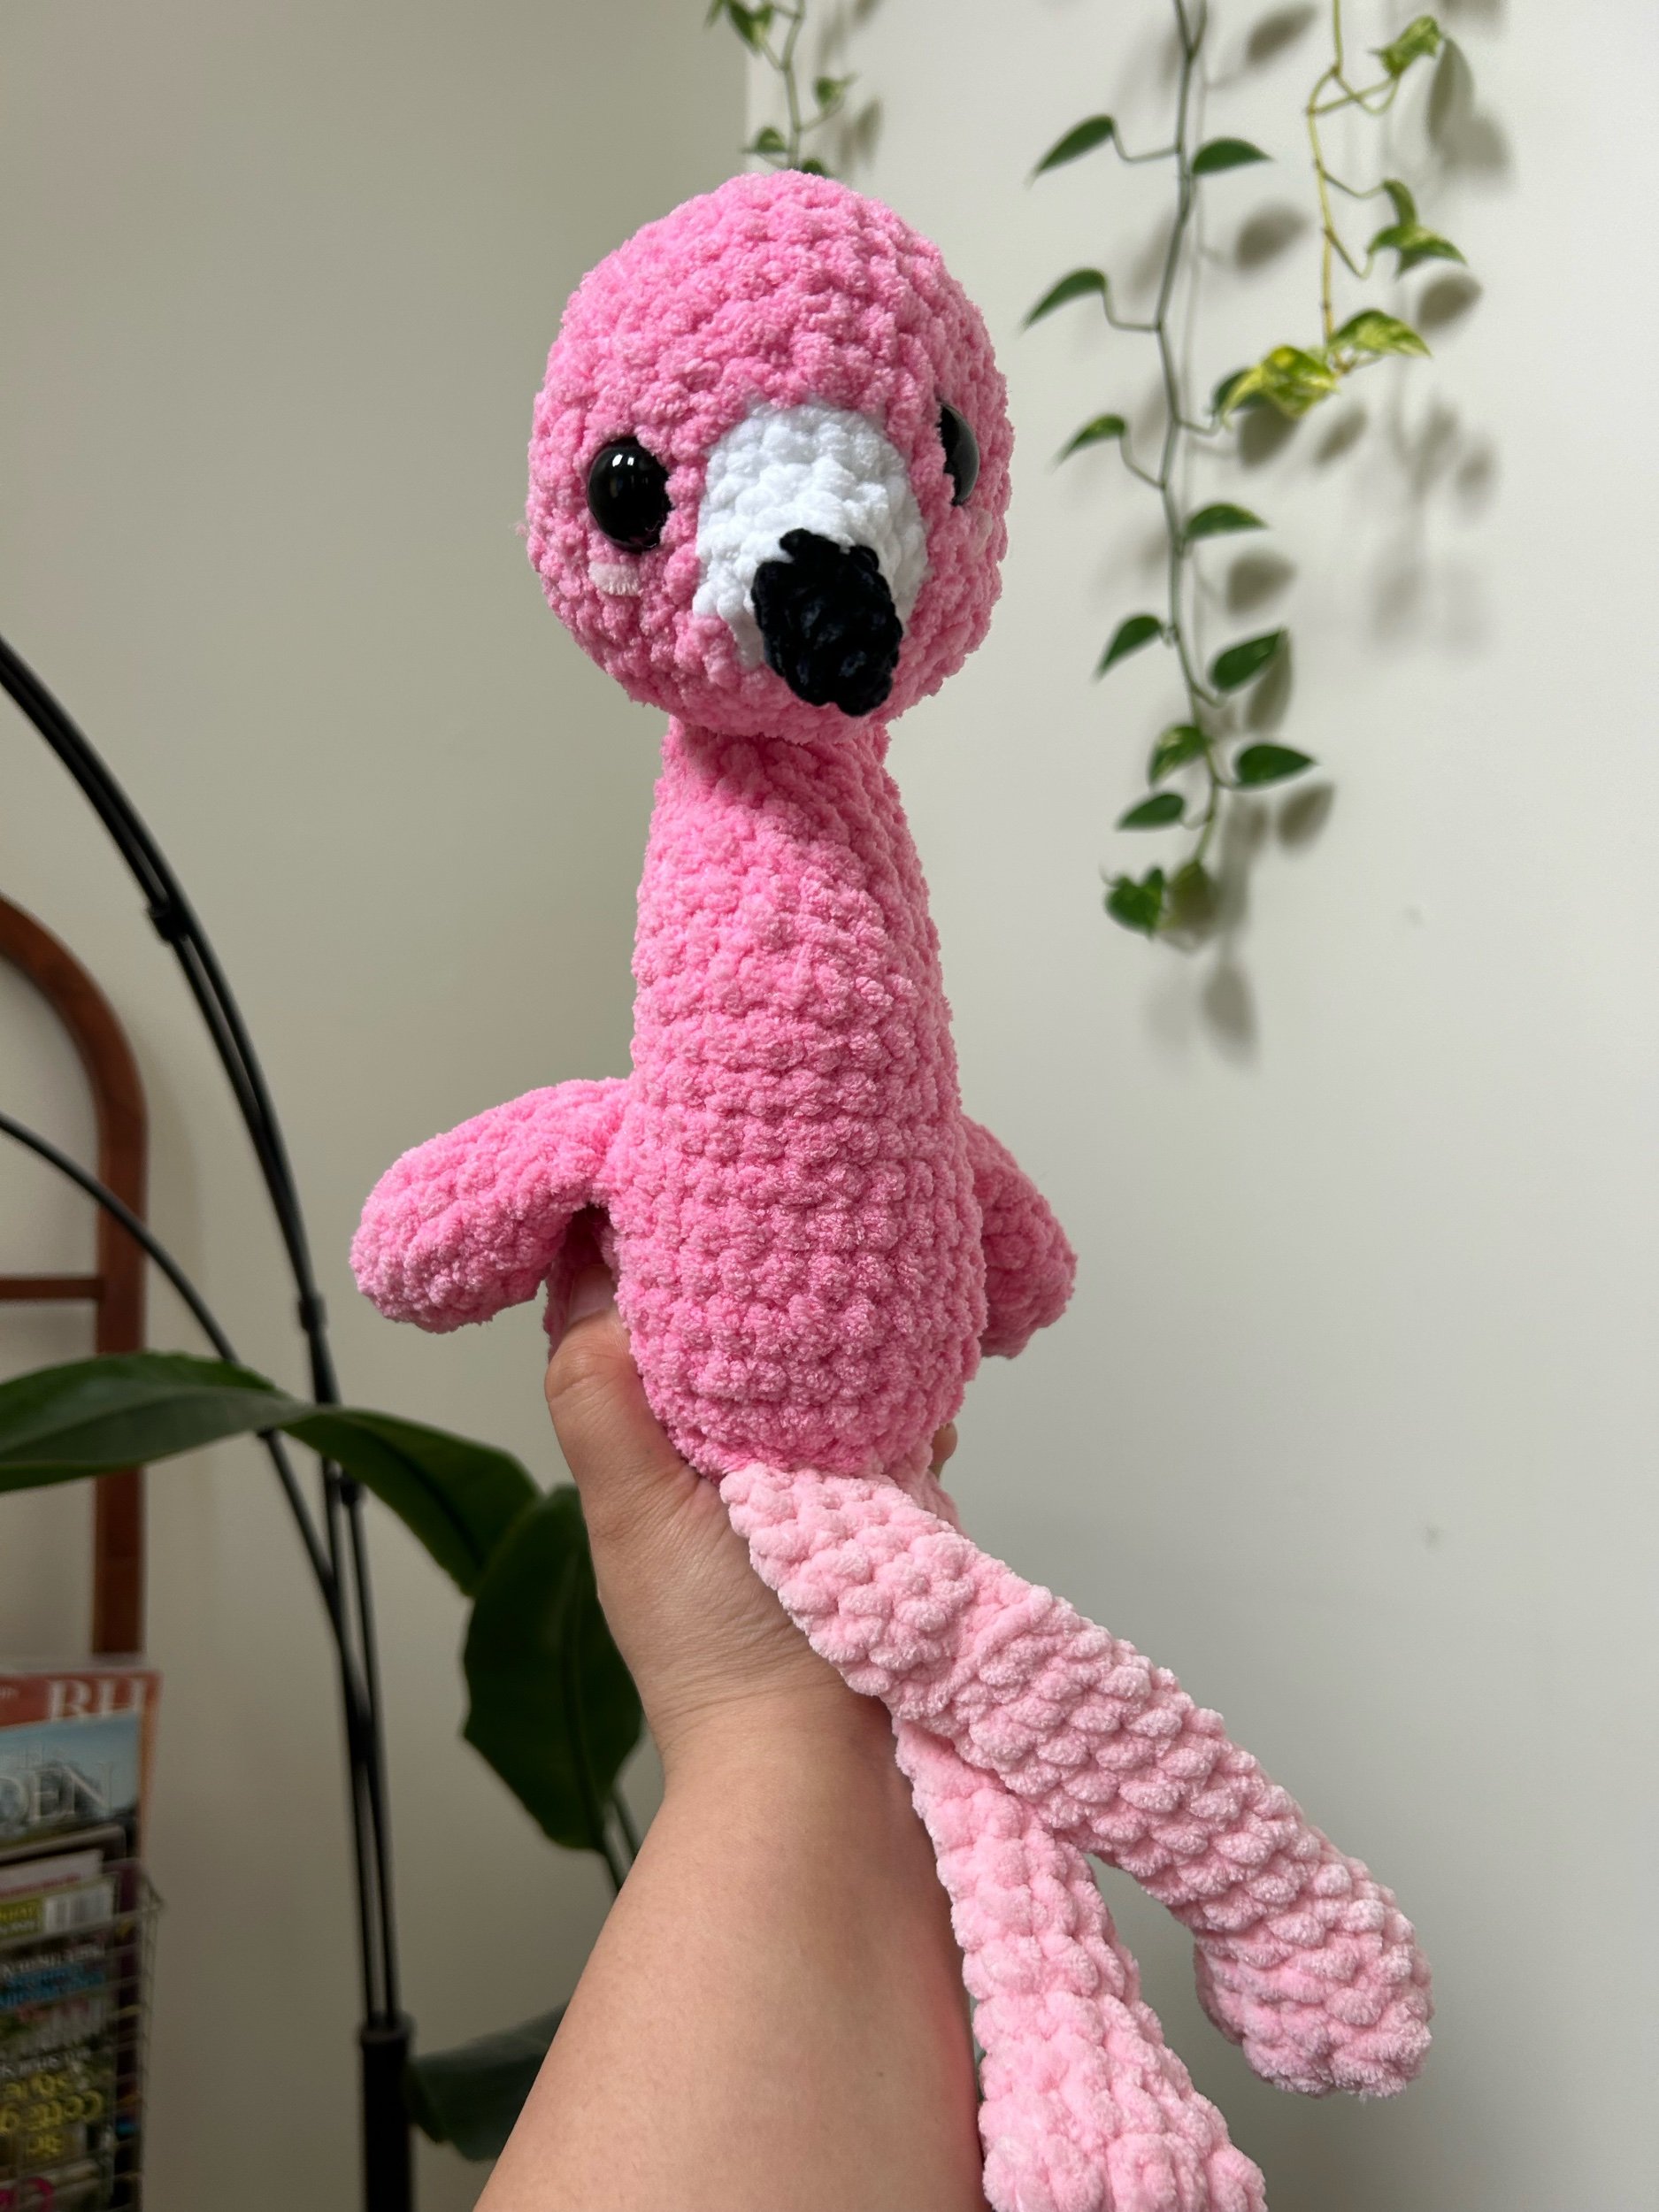 Image 2 of 3
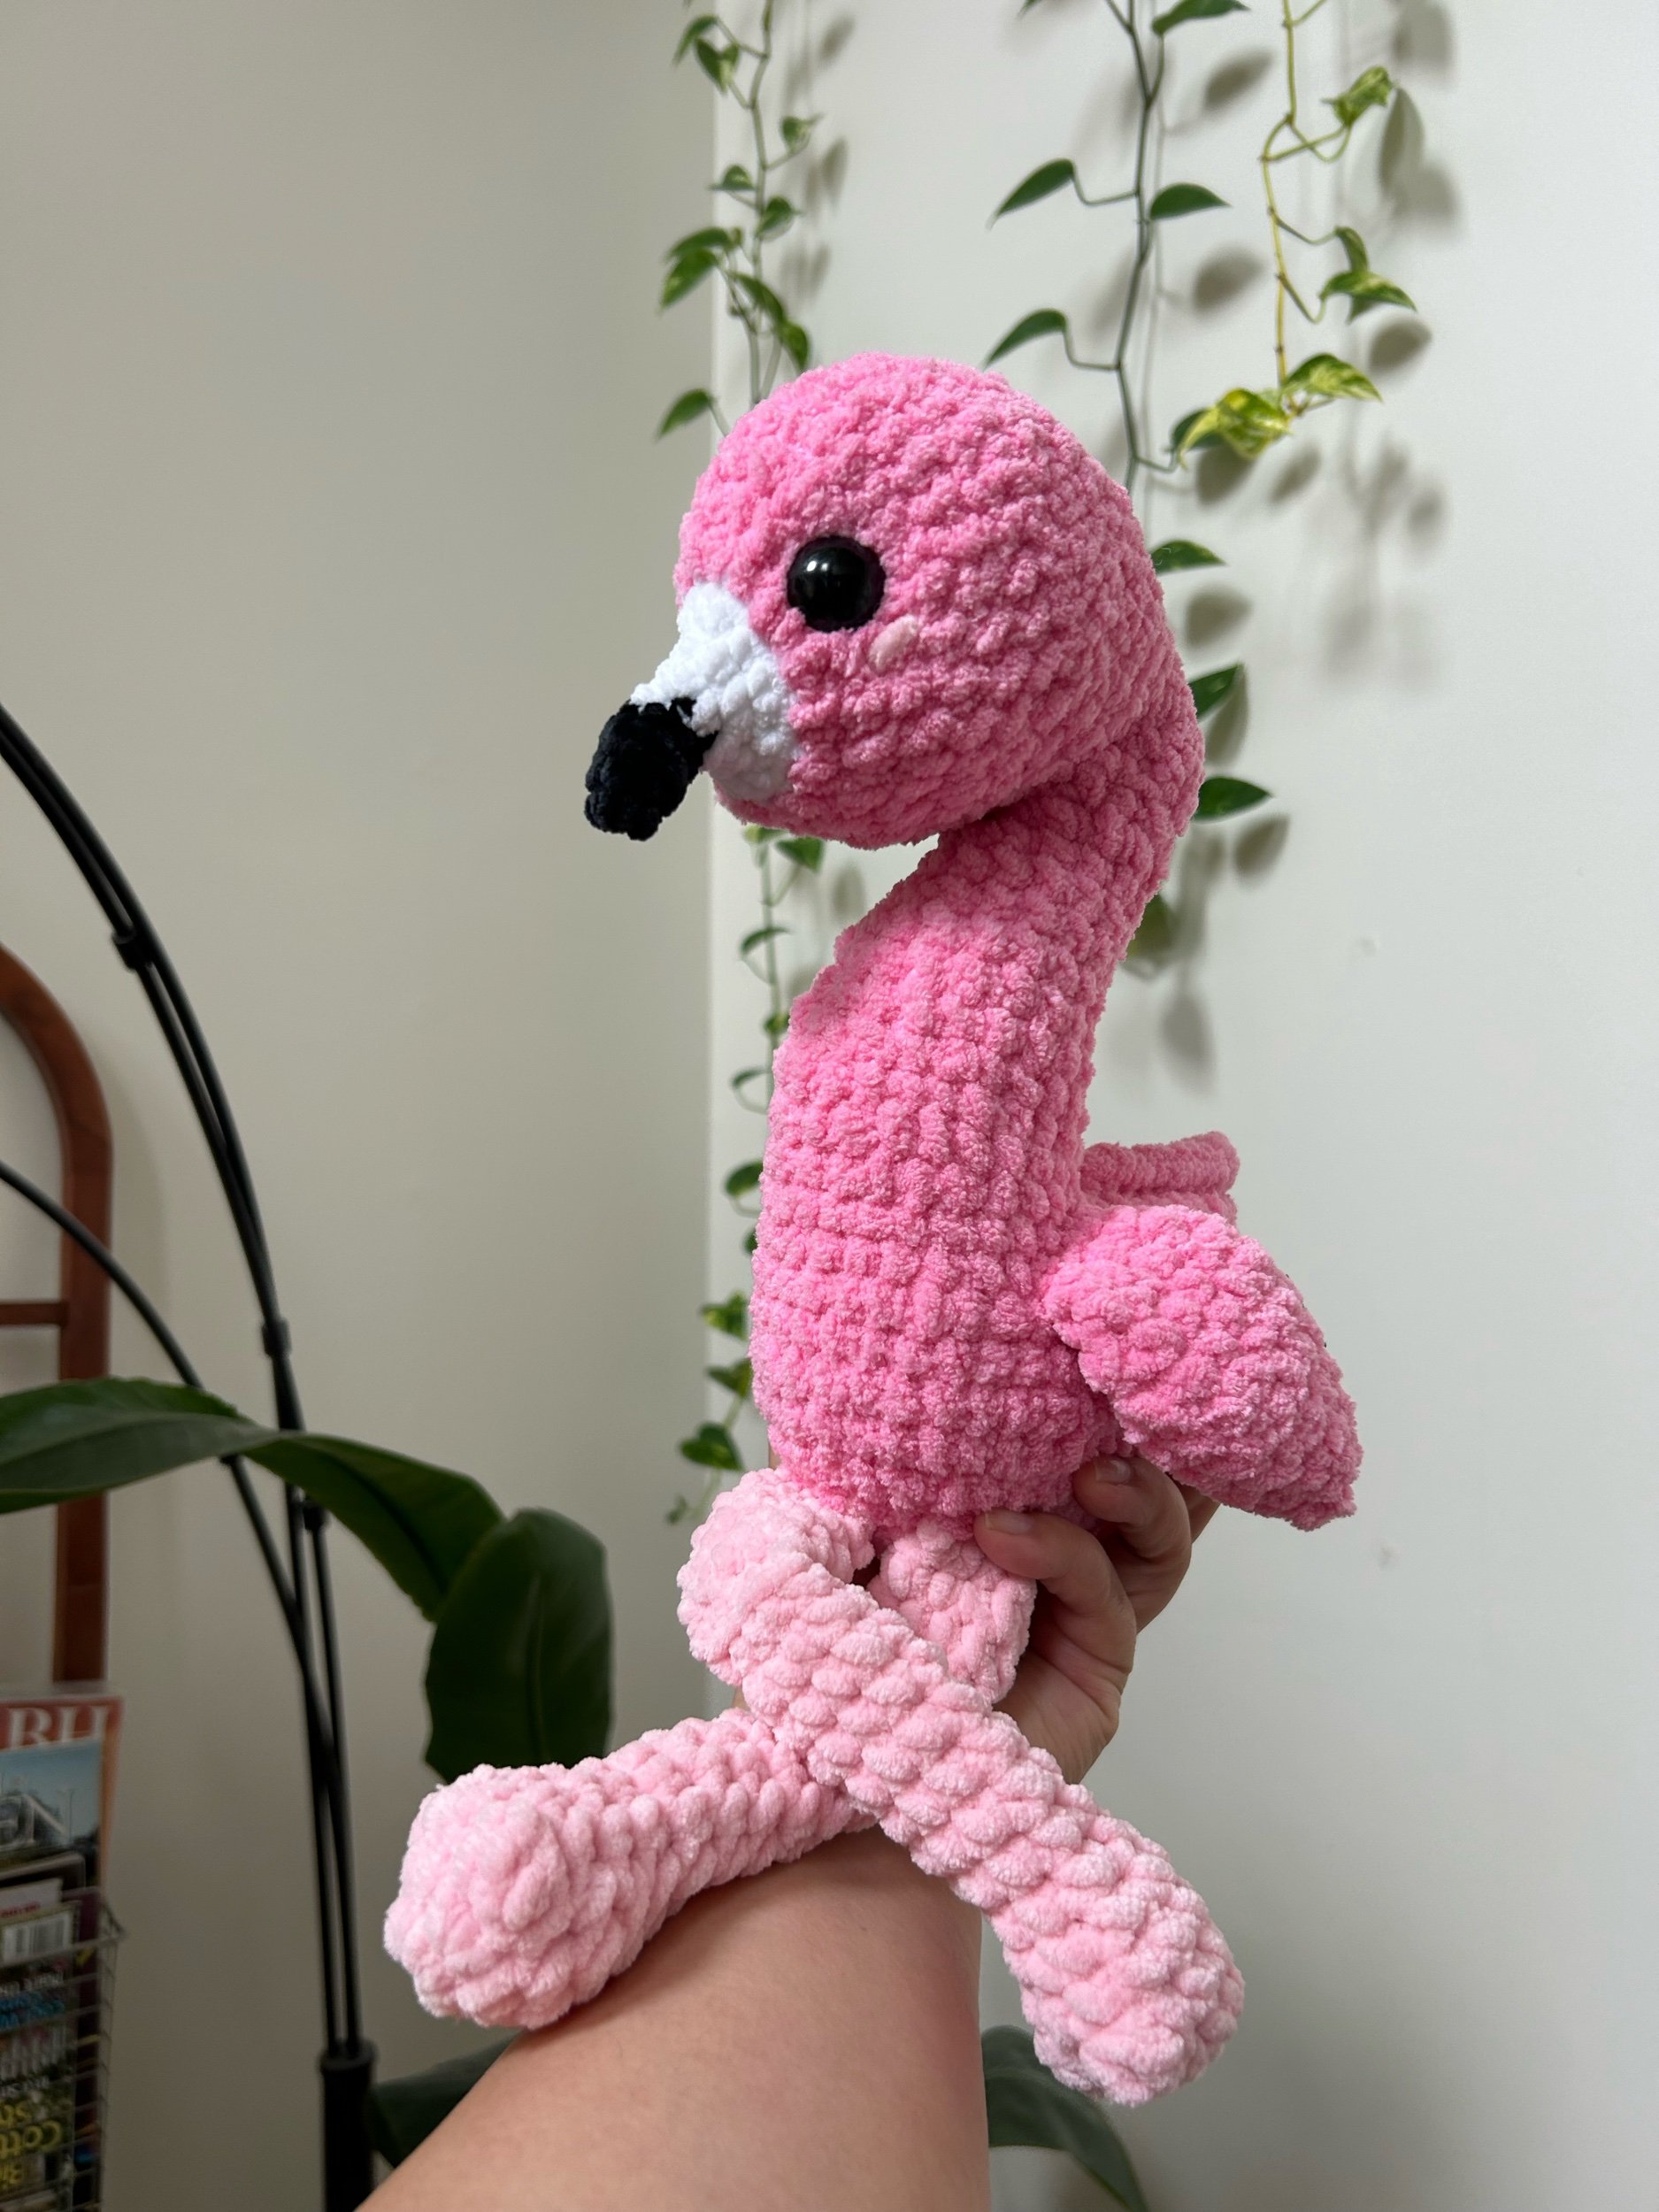 Image 3 of 3
A flamingo amigurumi is a crocheted plush designed to resemble a flamingo, typically with a long neck, slender body, and elegant, vibrant colors. These charming little creatures make a fun and whimsical addition to any collection of handmade toys. Crocheting a flamingo amigurumi involves using basic amigurumi techniques (like increasing, decreasing, and working in the round) to create the bird’s shape and features.
Key Elements of a Flamingo Amigurumi:
1. Color Scheme:
• Body and Neck: The body of a flamingo amigurumi is usually crocheted using shades of pink or light peach to reflect the bird’s iconic color. Some crafters use a combination of light and dark pink for added depth and realism.
• Beak and Legs: The beak is typically black or orange, and the legs are often black or dark gray to replicate a flamingo’s slender appearance.
• Feet: Flamingo feet are often crocheted in a v-shaped design, often with additional detailing to capture their unique structure.
• Wings: Depending on the pattern, the wings may be a simple flat piece or more textured, often crocheted in a complementary color to the body.
2. Shape and Features:
• Long Neck: The flamingo’s defining characteristic is its long neck. This is often crocheted in a spiral to make it flexible, allowing it to bend slightly for added charm.
• Head: The head of the flamingo is usually small and proportionate to the body, with features like embroidered eyes and a carefully crafted beak.
• Body: The body is often simple and rounded, creating a soft, plush shape.
• Legs: Flamingo legs are thin, so they’re often crocheted with a small hook or using a technique like crochet wire for added structure.
3. Techniques Used:
• Basic Crochet Stitches: Most amigurumi projects, including flamingos, use basic stitches like single crochet, increase, and decrease, all worked in the round.
• Embroidered Features: Many flamingo amigurumis use embroidery for details like eyes, nostrils, and feathers on the wings. Embroidered features give the bird character and can make it look more lively.
• Flexible Neck: Some patterns may use wire or pipe cleaners in the neck to make it poseable, adding more fun and flexibility to the finished piece.
Steps to Crochet a Flamingo Amigurumi:
1. Start with the Body: Begin by crocheting the body in rounds, typically starting from the base and working upwards. You will likely start with a small, circular base and gradually increase in rounds to create the body shape.
2. Crochet the Neck: The neck is often made separately and then attached to the body. It can be crocheted in a spiral or worked in rows and bent to mimic the natural curve of a flamingo’s neck.
3. Create the Head and Beak: The head is usually crocheted in rounds, then attached to the top of the neck. The beak can be made as a separate piece and stitched on, often in a contrasting color.
4. Add Legs and Feet: Flamingo legs can be crocheted as long, skinny tubes, and the feet are often made by crocheting small, V-shaped pieces that are then stitched to the ends of the legs.
5. Finishing Touches: Add embroidered eyes, any additional details on the wings, and assemble all the parts—body, neck, head, wings, and legs.
Customizing Your Flamingo Amigurumi:
• Size: You can adjust the size of your flamingo by using thicker yarn and larger hooks for a bigger version or using fine yarn and smaller hooks for a mini flamingo.
• Details: You can personalize your flamingo by adding accessories like tiny hats, scarves, or even little crochet flowers to its wings.
• Colors: Experiment with different color combinations to create a more vibrant or realistic flamingo, or add unique patterns to its wings